Setting Up Your Web Chats
Web Chats: Introduction
Enhancing customer engagement and support on your website has never been easier with PATLive’s innovative web chat feature. Imagine providing your website visitors with real-time assistance from virtual receptionists, seamlessly integrated into your site’s design. In this comprehensive guide, we’ll walk you through the simple steps to empower your website with live chat functionality. Whether you’re a small business owner or a seasoned webmaster, harness the power of PATLive to connect with your audience like never before. Let’s dive into the process of setting up this dynamic communication tool and revolutionize the way you interact with your online visitors.
Setting Up With Google Tag Manager
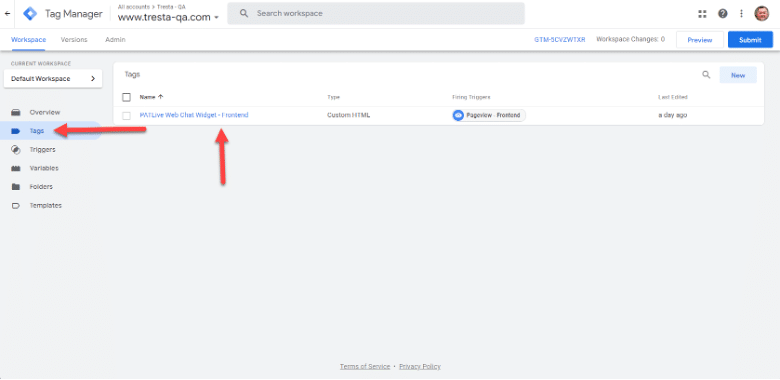
- Log in to Google Tag Manager Account as Admin
- From Sidebar click “Tags”
- Select the Tag from the list
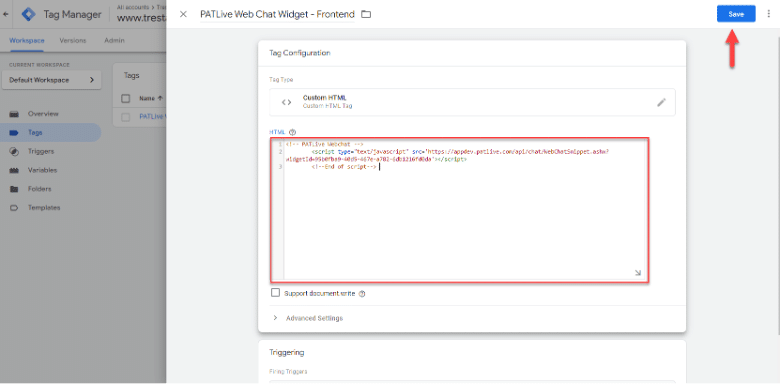
4. Select Tag Type = “Custom HTML Tag”
5. Paste Web Chat code snippet into field
6. Click “Save”
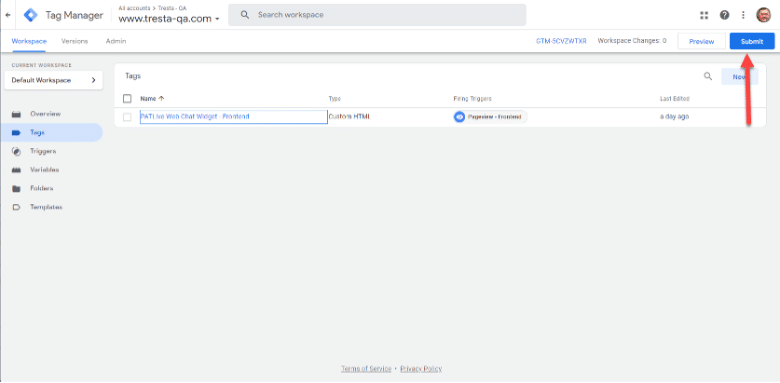
7. Click “Submit”
Setting Up With HostGator
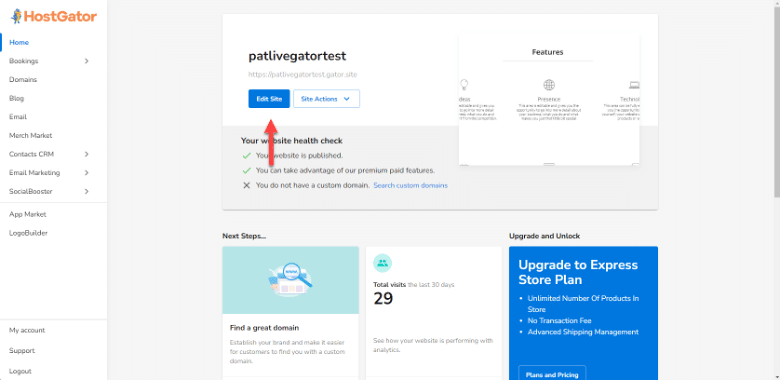
- Login as Site Administrator to the Account Dashboard
- Click “Edit Site” button in main window
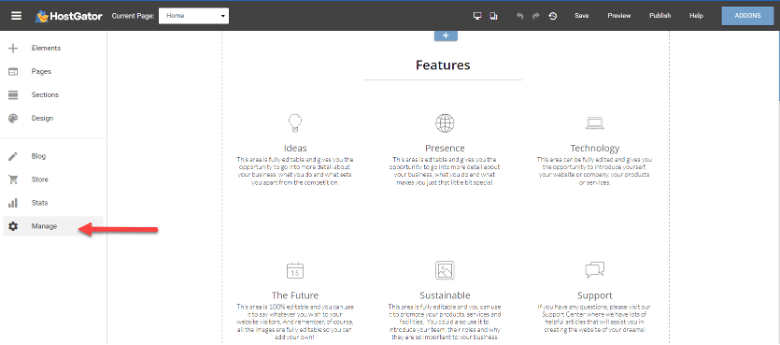
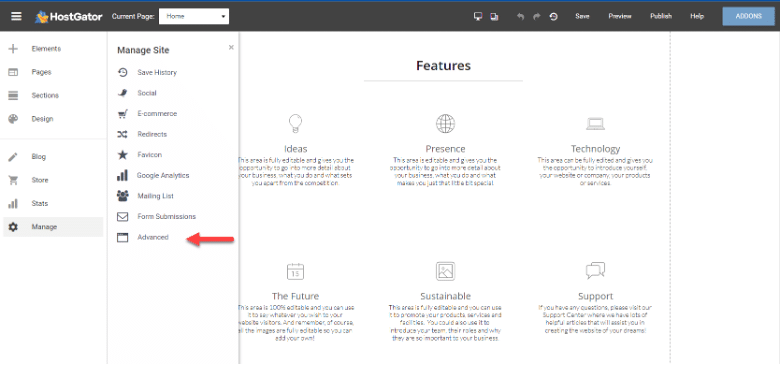
3. In sidebar, click “Manage”
4. From “Manage”, click “Advanced”
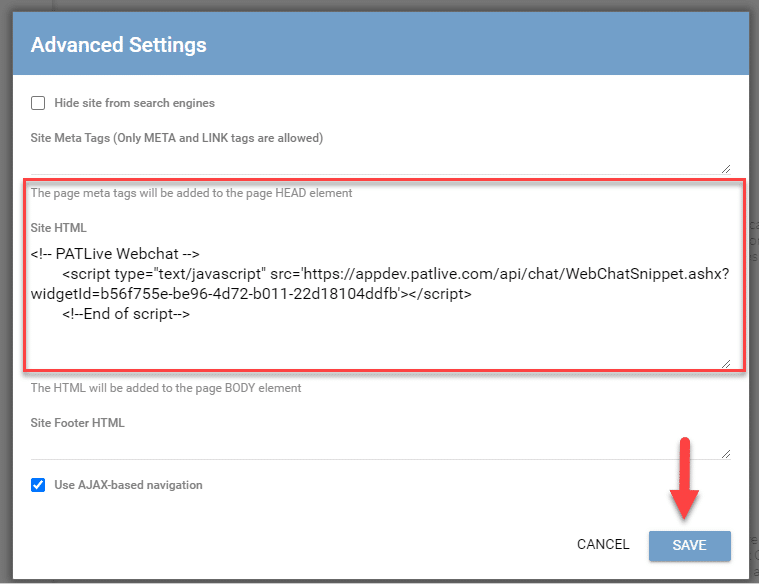
5. Paste Web Chat code snippet into Head field
6. Click “Save”
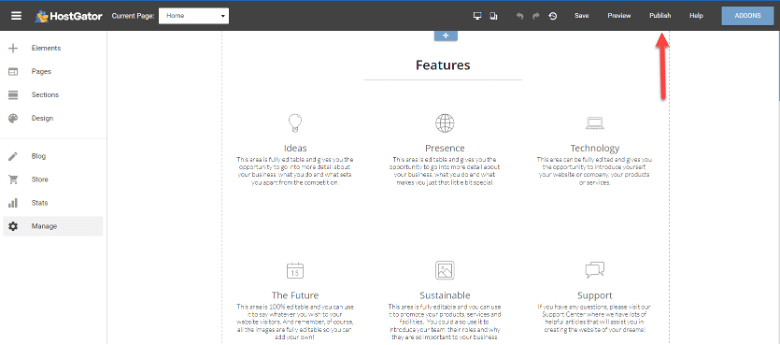
7. Click “Publish”
Setting Up With SquareSpace
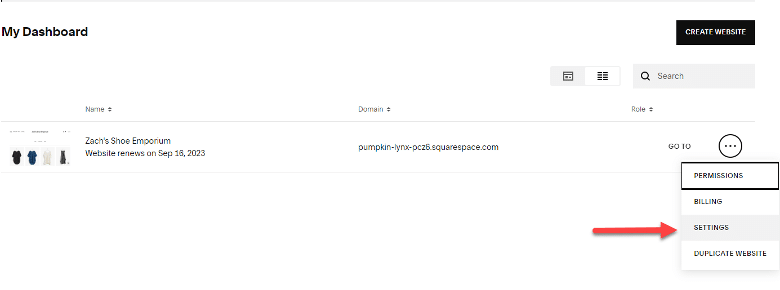
- Login as Site Administrator to the Account Dashboard.
- Use the “Go To” settings icon click and select “Settings”
3. From sidebar select “Developer Tools”
4. From sidebar select “Code Injection”
5. Add Web Chat code snippet to the “Header” section
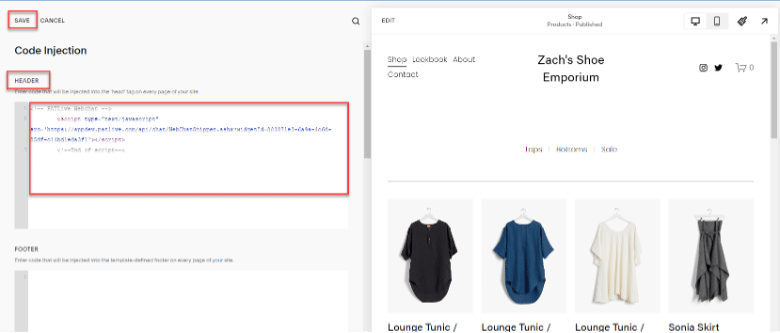
6. Click “Save”
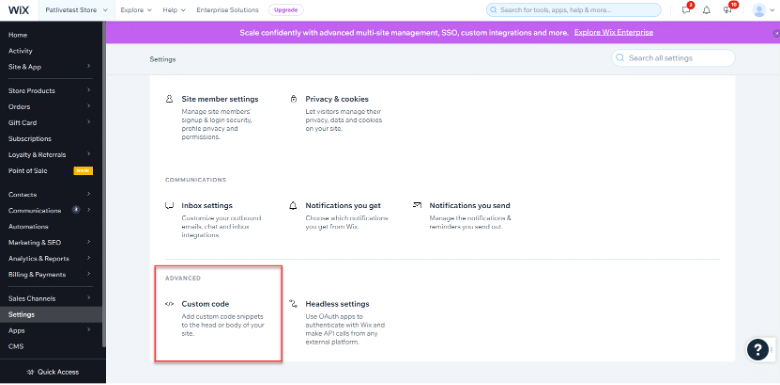
Setting Up With Wix
- Login as Site Administrator to Account Dashboard
- In sidebar click “Settings”
- From the menu click “Custom Code”
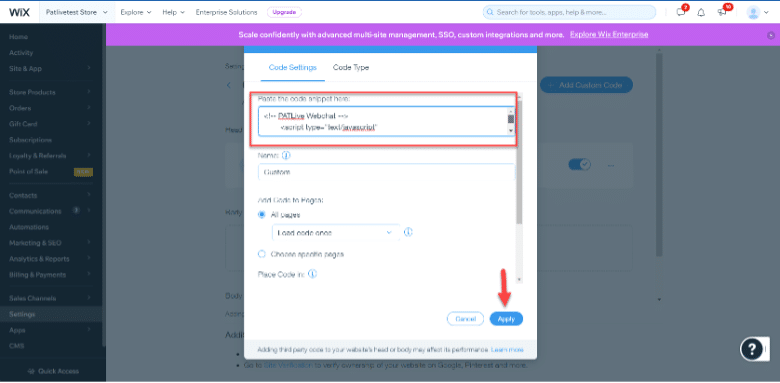
4. For the “Head” section ‘Add’ or select to edit.

5. Paste the Web Chat code snippet into the Code field.
6. Click “Apply”
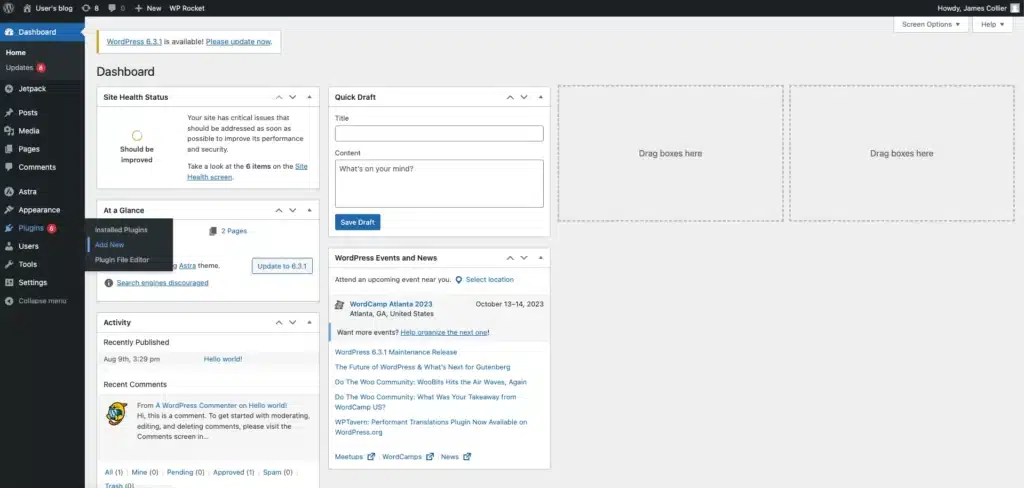
Setting Up With WordPress
- Login as Site Administrator to WordPress Account
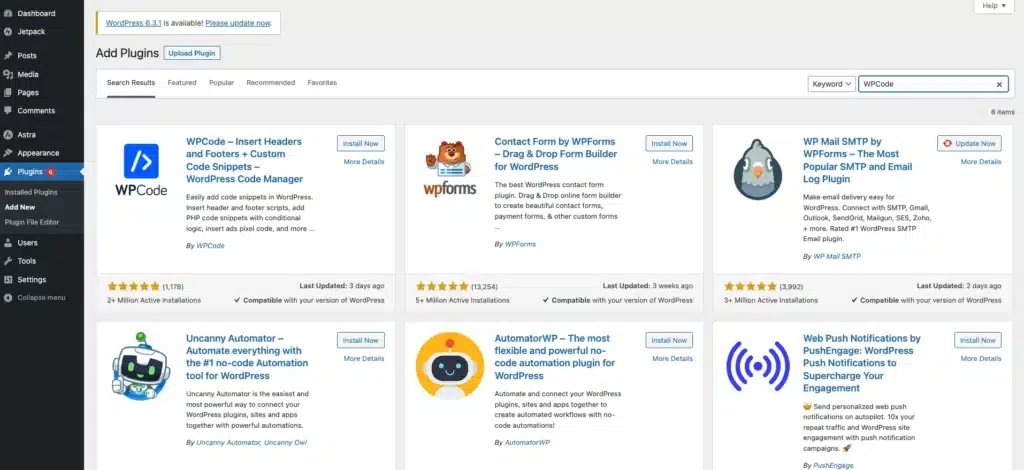
- Install the WPCode plugin by hovering in the sidebar over “Plugins” and click “Add New” in the submenu that appears.
3. Search for “WPCode”
4. Click “Install Now” in the block with WPCode, then activate the plugin.
5. In sidebar click “Code Snippets”
6. In sidebar click “Header &.Footer”
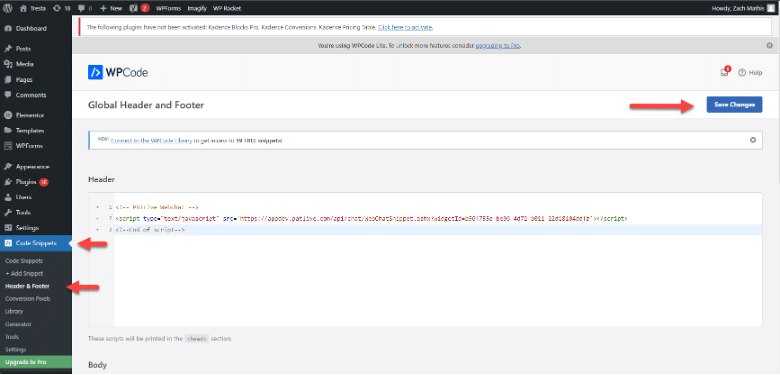
7. Paste the Web Chat code snippet into Header field
8. Click “Save Changes”
Web Chats: Conclusion
In conclusion, PATLive’s new web chat feature opens the door to a new era of personalized customer interactions on your website. Regardless of your platform—whether you’re using Google Tags, HostGator, SquareSpace, Wix, or WordPress—the process of integrating this powerful communication tool is straightforward and hassle-free. By following the detailed instructions provided in this guide, you’re well on your way to enhancing visitor engagement, boosting customer satisfaction, and streamlining support. Embrace the future of customer communication with PATLive’s web chat, and watch as your website becomes a hub of real-time connections and exceptional service. Don’t miss out on the chance to transform your online presence—get started today and revolutionize the way you engage with your audience.
If you need additional support, our customer service team is available Monday – Friday from 8am – 8pm EST. Please don’t hesitate to reach out. We’re here to help!